


Price: $11.99
(as of Apr 04, 2025 22:14:42 UTC - Details)
The Best Way to Apply Press On Nails: A Comprehensive Guide
Introduction
Are you tired of spending hours at the nail salon only to be disappointed with the results? Press on nails might just be the solution you’ve been searching for! They offer a quick, easy, and affordable way to achieve stunning nails at home. In this article, we’ll explore the best way to apply press on nails, ensuring you get the most out of your manicure. We’ll discuss everything from preparation to application techniques, and even how to make your press-on nails last longer. Let’s dive in!
Understanding Press On Nails
What Are Press On Nails?
Press on nails are pre-designed artificial nails that can be easily applied to your natural nails. They come in various shapes, sizes, and designs. The beauty of press on nails is their versatility; you can switch up your style as often as you like without the commitment of traditional acrylics or gels.
Benefits of Using Press On Nails
Using press on nails has several advantages. They are cost-effective, save time, and let you achieve salon-quality nails in the comfort of your own home. Plus, they’re perfect for special occasions or a quick style change.
Preparing Your Natural Nails
Clean Your Nails
Before applying press on nails, it’s crucial to start with clean natural nails. Use a nail polish remover to eliminate any polish or residue. This step ensures that the press on nails adhere properly.
Trim and Shape Your Nails
To achieve the best fit, trim and shape your natural nails. You don’t want your natural nails peeking out from under the press on nails. Use a nail file to smooth out any rough edges, making sure the surface is even.
Push Back Cuticles
Gently push back your cuticles using a cuticle pusher. This step creates a clean canvas for your press on nails and helps them adhere better.
Choosing the Right Press On Nails
Different Shapes and Sizes
When selecting press on nails, consider your personal style. They come in various shapes, such as almond, square, and stiletto. Make sure to choose a size that fits your natural nails well to avoid lifting.
Design Options
There’s no shortage of designs available! From chic solids to intricate patterns, you can find press on nails that suit any occasion. Choose designs that reflect your personality and style.
The Application Process
Step-by-Step Application Guide
-
Gather Your Supplies: You’ll need your chosen press on nails, nail glue, a nail file, and a buffer.
-
Select the Right Nail: Match each press on nail to your natural nail. Lay them out in order for easy application.
-
Apply Nail Glue: Put a small amount of glue on your natural nail and the press on nail.
-
Press and Hold: Align the press on nail with your natural nail and press down firmly for about 10 seconds.
- Repeat: Continue the process until all press on nails are applied.
Tips for a Flawless Application
- Use Enough Glue: Don’t skimp on the glue; just make sure not to use too much.
- Apply in a Well-Lit Area: Good lighting helps ensure that you place the nails accurately.
- Stay Calm: Take your time during the application process to avoid mistakes.
Making Your Press On Nails Last
Top Coat Application
Applying a clear top coat can significantly extend the life of your press on nails. It adds a layer of protection and enhances shine.
Avoid Water Initially
After application, try to avoid soaking your hands in water for at least an hour. This allows the glue to set properly.
Gentle Care
Treat your press on nails with care. Avoid using them for tasks that require a lot of pressure, and be gentle when washing your hands.
Removing Press On Nails
Safe Removal Techniques
When it’s time to take off your press on nails, do it carefully to avoid damaging your natural nails. Soak your nails in warm, soapy water for about 10 minutes to loosen the glue.
Alternatives to Removal
If you’re in a hurry, you can also use a nail polish remover with acetone. Apply it around the edges of the press on nails to help lift them off more easily.
Conclusion
In summary, applying press on nails is a fun and easy way to achieve beautiful nails at home. By following the steps outlined in this guide, from preparation to application and even removal, you can enjoy stunning nails without the commitment of traditional methods. Remember to choose the right nails, apply them carefully, and take good care of them for the best results. With press on nails, you can express your style effortlessly and enjoy the confidence that comes with well-manicured nails. So go ahead, give them a try and elevate your nail game today!
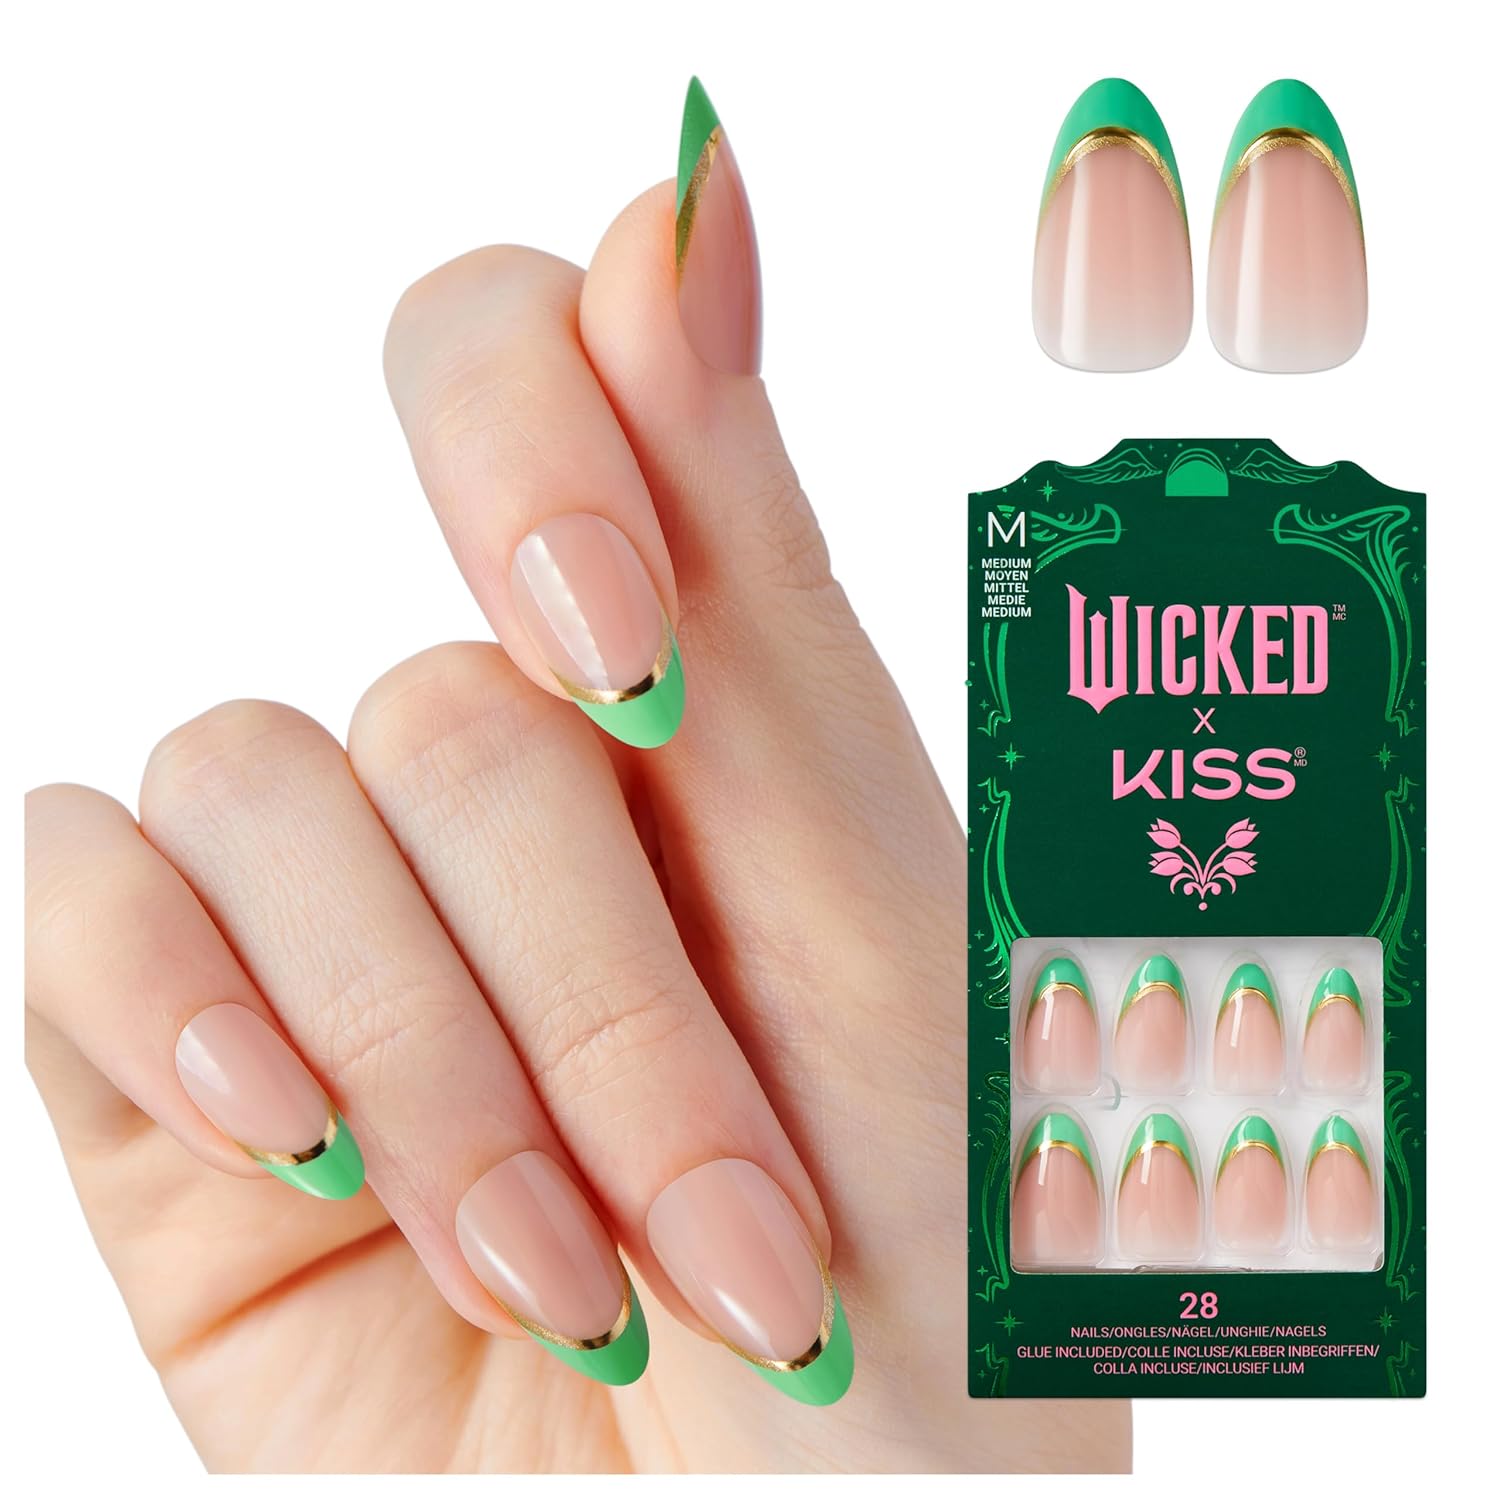
Thrillifying Exclusive Designs: These new press on nails from KISS are absolutely ‘Thrillifying!’. Pink goes good with green with these exclusively designed pink nails, featuring a positively green French tip and phosphorescent gold foil. It’s time to fly with ‘Wicked’ nails.
Magic Unleashed: KISS is celebrating the release of the spellbinding new movie, ‘Wicked’, with this exclusive collection of bewitching nail designs; Original styles inspired by Elphaba, Glinda, and all their thrillifying adventures in Oz.
The Easiest Way To Get Gorgeous: Ready-to-wear fake nails take minutes to apply with long-lasting wear for up to 7 days; Waterproof, chip proof, smudge proof, & no dry time; hassle-free removal with no damage to natural nails
All-Inclusive DIY Nail Kit: Comes with everything you need for a flawless at-home mani; Contains 28 fake nails, pink gel nail glue (2g), mini nail file, & manicure stick
Bring the Salon Home: KISS brings you the latest groundbreaking innovations in DIY beauty products that include false eyelashes, press-on nails, lash extension kits, lash clusters, & self-adhesive eyelashes, saving you time and money on self-care